Create Your Next Ad Banner With Midjourney
Learn to create captivating ad banners using Midjourney! Tailored for digital marketing designers, this tutorial requires no special hardware or software.
Overview and Audience
- In this tutorial, you will learn to use the Midjourney bot to generate stunning images from simple text prompts in mere moments.
- This tutorial is focused on designers and design teams working in digital marketing and advertising, and we will focus on learning to make ad banners for your next campaign.
- We will work directly in Discord to do this, meaning no specialized hardware or software is required.
- You will need a few tools to use this tutorial, and we will cover those in a moment.
Objective
At the end of this workshop you will be able to do the following
- Use Midjourney to generate images using simple text prompts.
- Quickly generate a diverse range of visual concepts based on different prompts, with the ability to iterate rapidly and efficiently.
- Port the results into Photoshop or your preferred image editing tool, and adjust text, colors, and whatever else you need to do from there.
- Create fantastic ad campaigns with these images.
About the AI tools:
Midjourney is a tool aimed at:
- Generating stunning images from simple text prompts in seconds.
- Working collaboratively as a team to create better designs, faster.
- Iterate by generating a diverse range of visual concepts based on different prompts, enabling you to iterate rapidly and efficiently.
Vectorize AI is a tool aimed at:
- Converting your JPEG and PNG bitmaps to SVG vectors quickly and easily, so you can port your images into Illustrator or your preferred image editing software.
Prerequisite
Before the workshop starts you’ll need to do the following.
- Create Discord Account & Verify Discord Account
- Subscribe to a paid account.
- Illustrator or Photoshop installed. Trial version available here.
- Download the tutorial resources folder.
Section 1 - Getting Started With Midjourney
Step 1 - Join the Midjourney Server on Discord
To start interacting with the Midjourney Bot, join the Midjourney Server
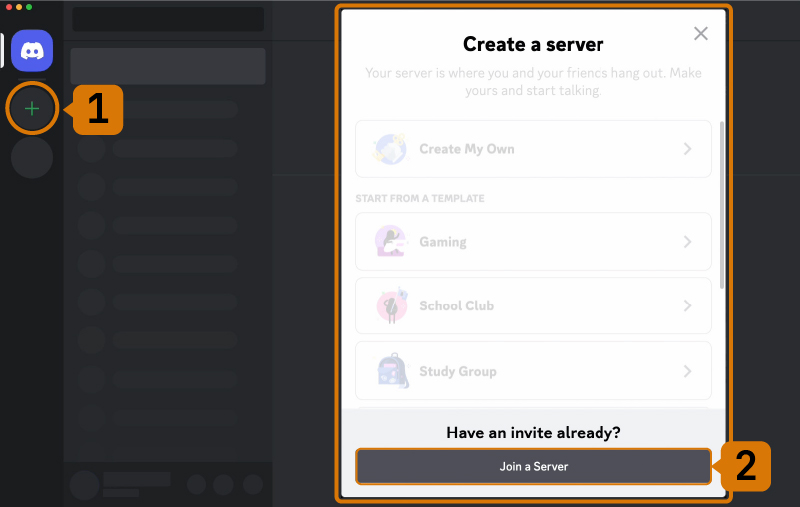
- Open Discord and locate the server list on the left-hand sidebar.
- Press the + button at the bottom of the server list.
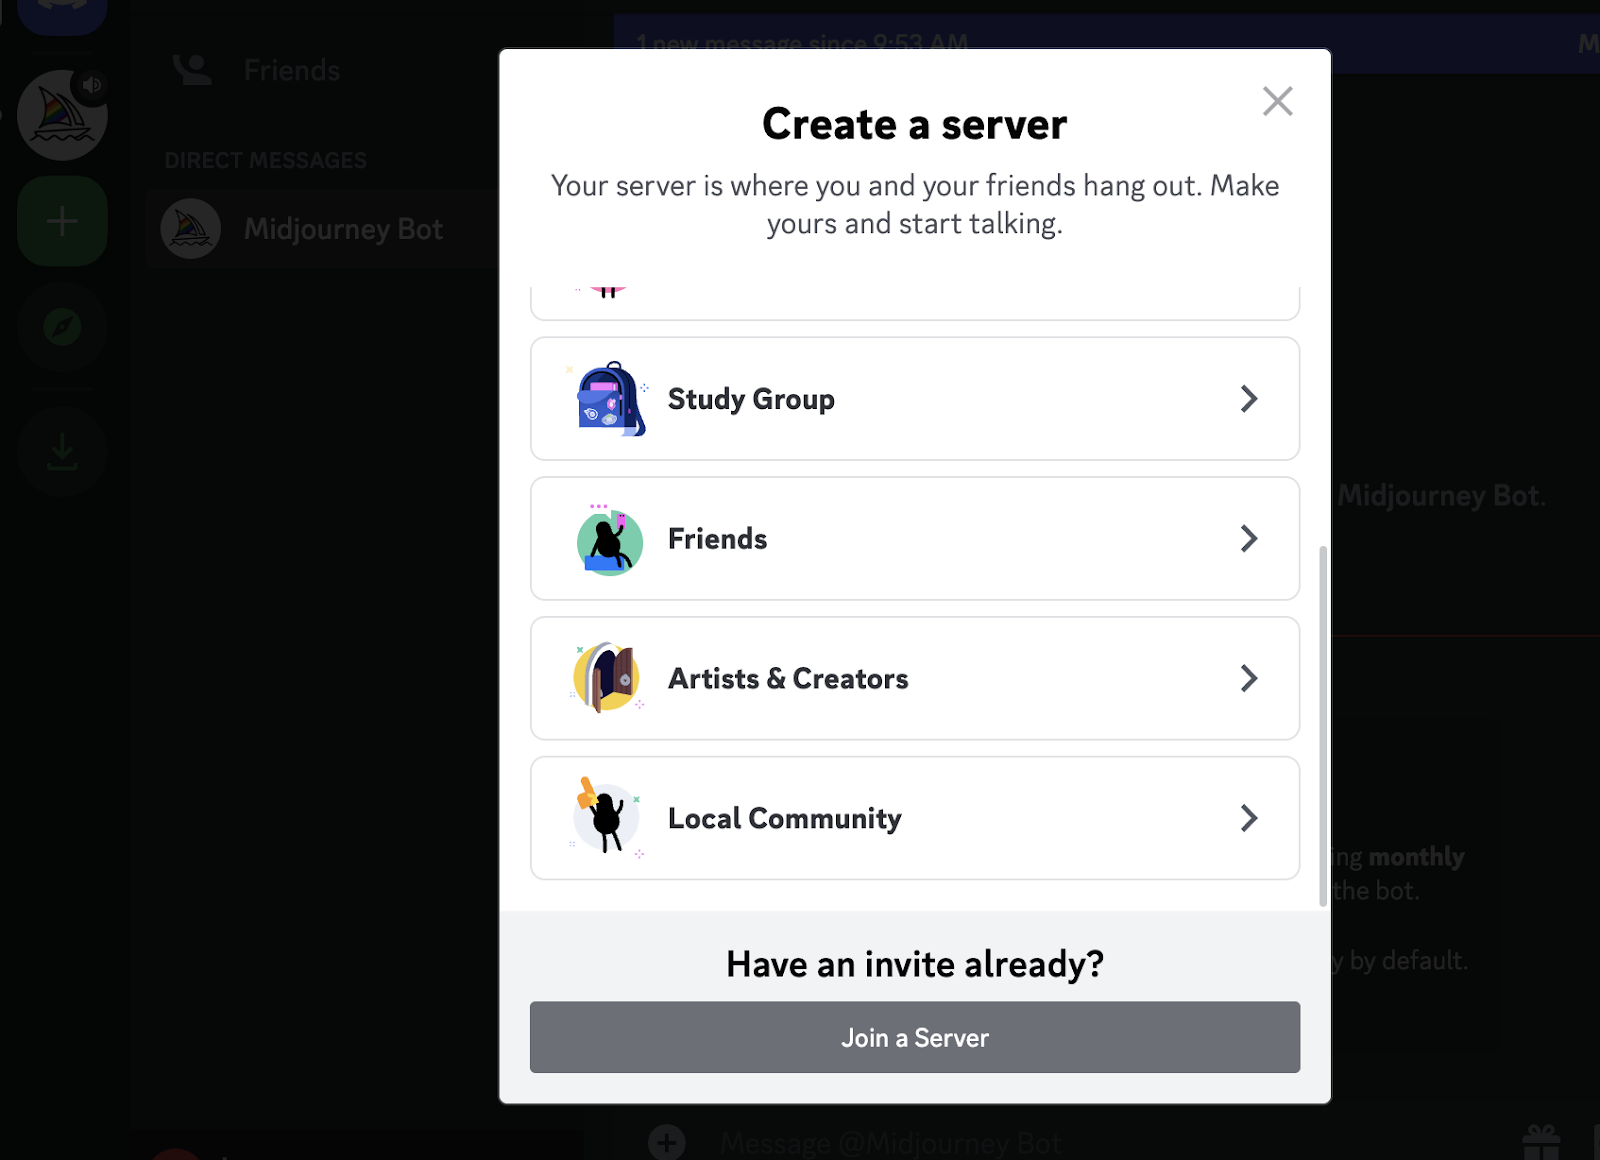
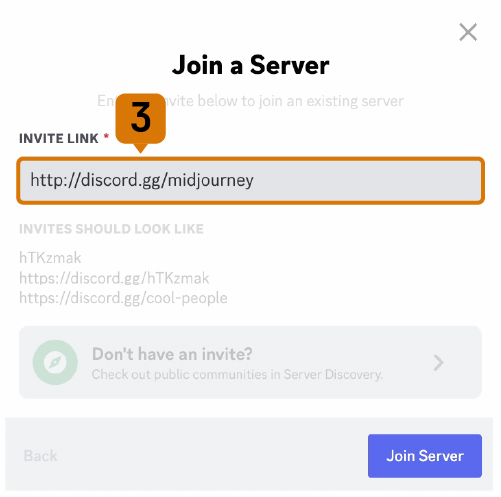
- In the pop-up window, click the Join a Server button.
- Paste or type the following URL: http://discord.gg/midjourney and press Join.
For additional information, Learn more about Discord servers.
Step 2 - Go to #General Channel
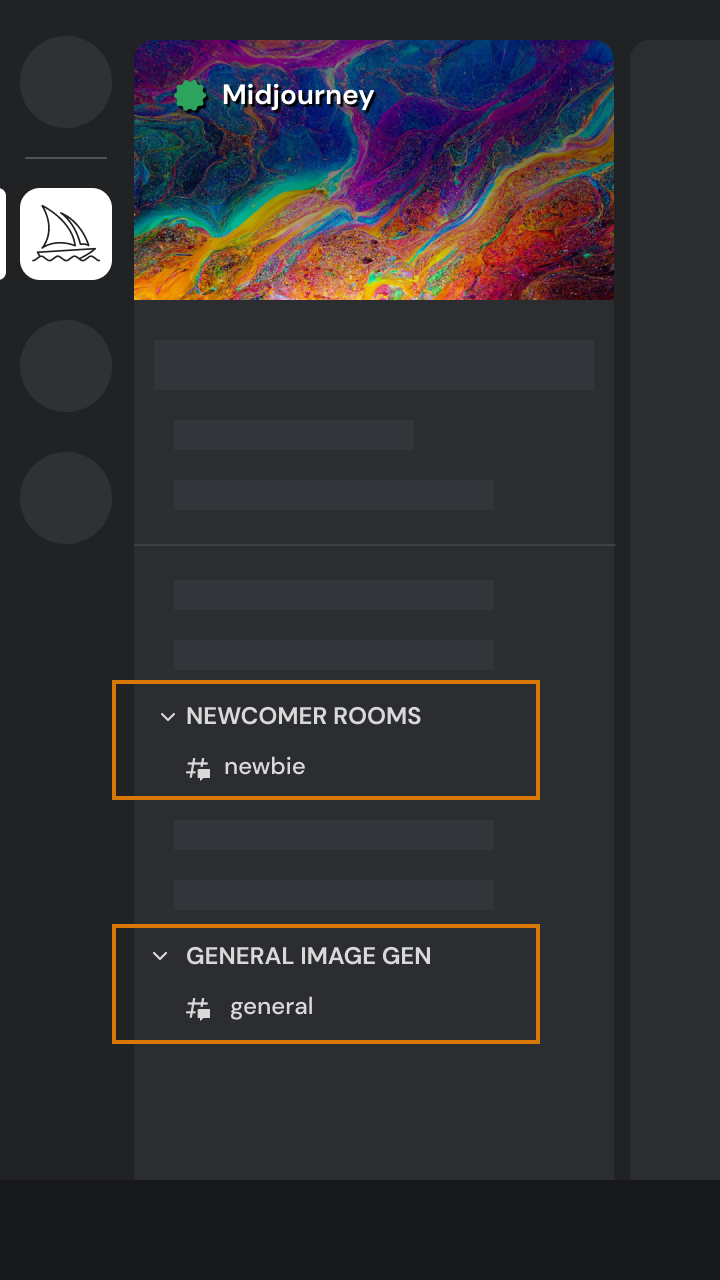
After joining the Midjourney server on Discord, you'll see several channels listed in the sidebar.
Locate and select any channel labeled general-# or newbie-#. These channels are designed for beginners to start using the Midjourney bot. The Midjourney Bot will not generate images in other channels.
Step 4 - Discover the prompting commands
Interact with the Midjourney Bot on Discord using a Command. Commands are used to create images, change default settings, monitor user info, and perform other helpful tasks. The /imagine command generates a unique image from a short text description (known as a Prompt)

Prompts are short text phrases that the Midjourney Bot uses to produce an image. The Midjourney Bot breaks down the words and phrases in a prompt into smaller pieces, called tokens, that can be compared to its training data and then used to generate an image. A well-crafted prompt can help make unique and exciting images.
Image URLs can be added to a prompt to influence the style and content of the finished result. Image URL prompts always go at the front part of a prompt.
Text prompts are the text description of what image you want to generate. Well-written prompts help generate amazing images. You can be extremely detailed with your prompts.
Parameters change how an image generates. Parameters can change aspect ratios, models, upscalers, and lots more. Parameters go at the end of the prompt.
Step 5 - Use /imagine command
How to Use /imagine
- Type '/imagine prompt:' in the message field. You can also select the /imagine command from the list of available slash commands that pop up when you type '/'.
- Type a description of the image you want to create in the prompt field. It can be simple or extremely detailed.
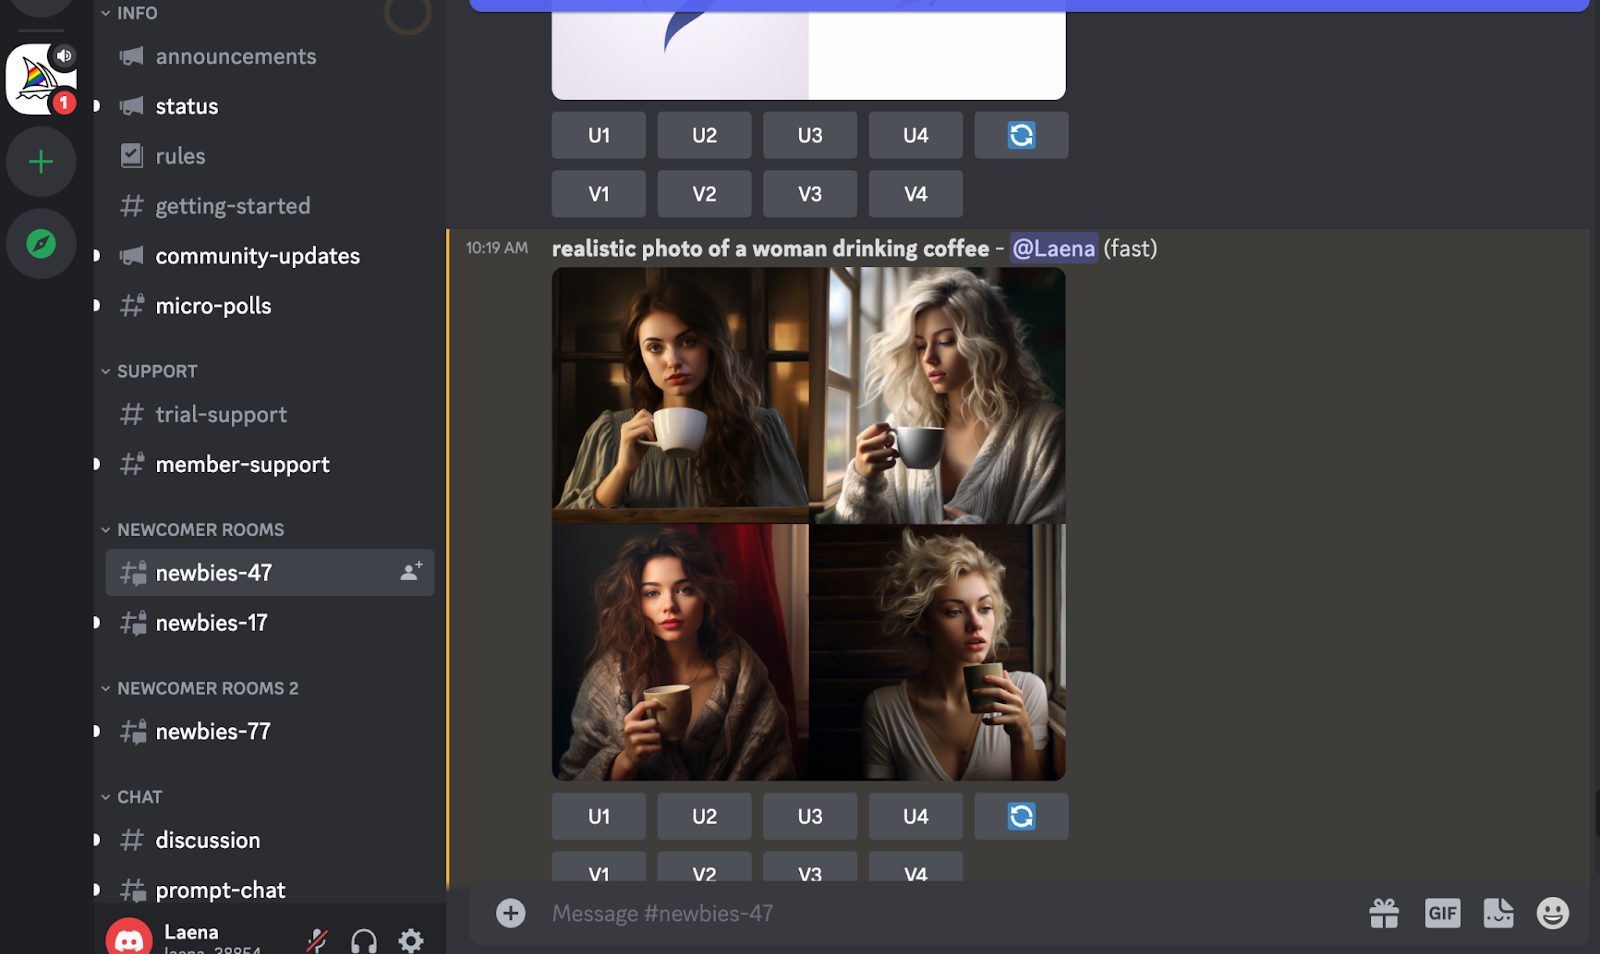
- For example, we will use this prompt: “/imagine prompt realistic photo of a woman drinking coffee.”
- Send your message. The Bot will interpret your text prompt and begin generating the images.
- Respect the Community Guidelines. Community guidelines apply wherever the Midjourney Bot is used.

After submitting a text prompt, the Midjourney Bot processes your request, creating four unique image options within a minute. This process utilizes advanced Graphics Processing Units (GPUs), and each image generation counts towards the GPU time included with your Midjourney subscription. To monitor your available GPU time (Fast Time Remaining) use the /info command.
Step 6 - Upscale or Create Variations
Once your initial image grid has been generated, two rows of buttons become available underneath your image grid.

U1 U2 U3 U4 Image Selection and Upscale
In earlier versions of Midjourney, the U buttons were used for upscaling images. With the latest model, images are automatically generated at their maximum size. Now, the 'U' buttons help you single out your chosen image from the grid, making it easier to download and giving you access to additional editing and generation tools.
🔄 Re-run or Re-roll a Job
The 🔄 button re-runs a Job. In this case, it would re-run the original prompt producing a new grid of images.
V1 V2 V3 V4 Image Variation
The V buttons are used to create variations of the selected image. Each button generates a new image grid that maintains the general style and composition of the selected image.
Step 7 - Enhance or Modify Your Image
After singling out an image, an expanded set of options becomes available.
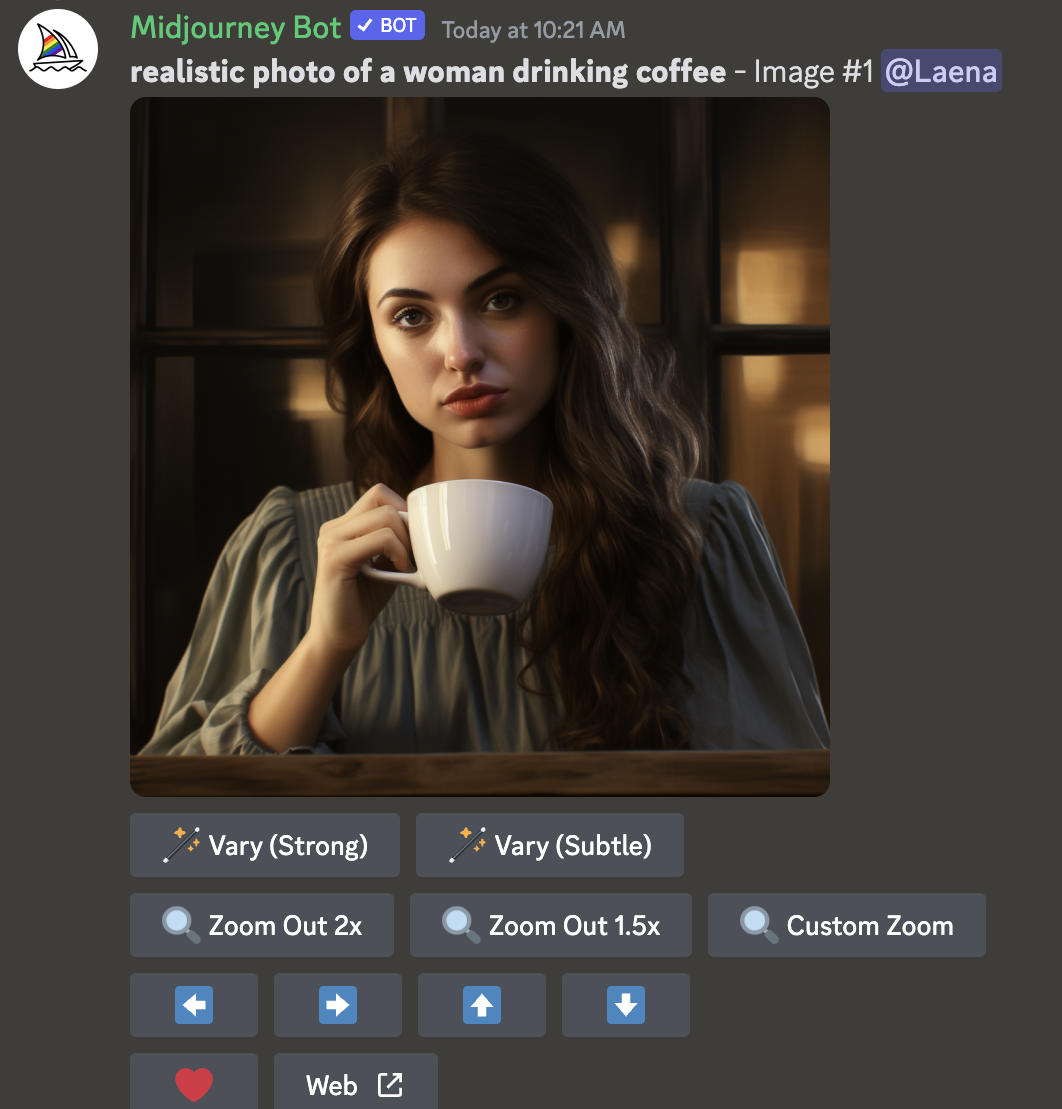
Create a stronger or subtle variation of your selected image, generating a new grid of four options.
🔍 Zoom Out 2x 🔍 Zoom Out 1.5x 🔍 Custom Zoom
Zoom Out of your image, extending the canvas its original boundaries without changing the content of the original image. The newly expanded canvas will be filled-in using guidance from the prompt and the original image.
⬅️ ➡️ ⬆️ ⬇️
The Pan buttons allow you to expand the canvas of an image in a chosen direction without changing the content of the original image. The newly expanded canvas will be filled in using guidance from the prompt and the original image.
❤️ Favorite
tag your best images to easily find them on the Midjourney website.
Web ↗️
Section 2 - Create A Banner With Midjourney
You are a designer working with AIUG Airlines. They are about to launch a great promotion for the holiday seasons. They want to have a banner that’s inspiring and makes people think about new horizons.
Step 1 - Generate an image from a file & a prompt
- You found this image online and thought that it could be a great source of inspiration: https://www.aiusergroup.com/files/midjourney/example.png
- You’re thinking that prompting Midjourney to use this image and make it specifically tailored for the holiday travel season might lead to a cool concept.
- Let’s prompt the following: “https://s.mj.run/s1MP7Cl-yrE family happy travel airplane holiday photo

- Create as many variations and upscale as you think is needed.
- Refine the prompt so you get what you want.
Step 2 - Customize with parameters
Three parameters to explore are –aspect ratio, –chaos, and –no parameters.
- Use the parameter –chaos or –c to influence how varied the initial image grids are. High --chaos values will produce more unusual and unexpected results and compositions. Lower --chaos values have more reliable, repeatable results.
- Here is an example of a prompt you can use to achieve this:
- /imagine prompt https://s.mj.run/s1MP7Cl-yrE family happy travel airplane holiday photo –c 80

- Use the --aspect or --ar parameter to change the aspect ratio of the generated image. An aspect ratio is the width-to-height ratio of an image. It is typically expressed as two numbers separated by a colon, such as 7:4 or 4:3.
- Here is an example of a prompt you can use to achieve this:
- /imagine prompt https://s.mj.run/s1MP7Cl-yrE family happy travel airplane holiday photo --ar 16:9
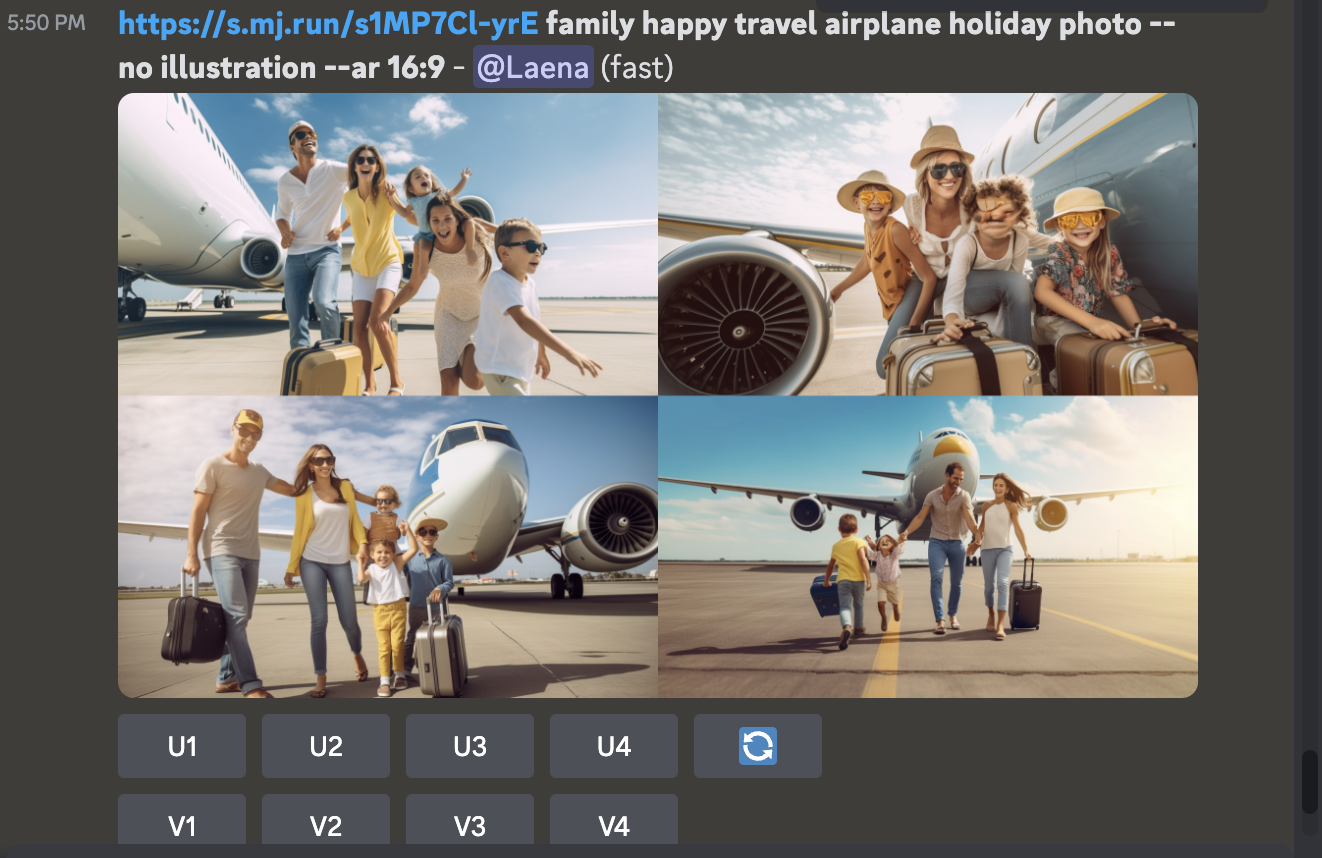
- Use the --no parameter to tell the Midjourney Bot what not to include in your image.
- Here is an example of a prompt you can use to achieve this:
- /imagine prompt https://s.mj.run/s1MP7Cl-yrE family happy travel airplane holiday photo --no illustration --ar 16:9
- Zoom & Pan to get better results.

Step 9 - Save Your Image
Click on the image to open it to full size, and then right-click and choose Save image. On mobile, long-tap the image and then tap the download icon in the top right corner.
All images are immediately available to view on midjourney.com/app
Step 10 - Vectorize your image
- Go on https://vectorizer.ai/
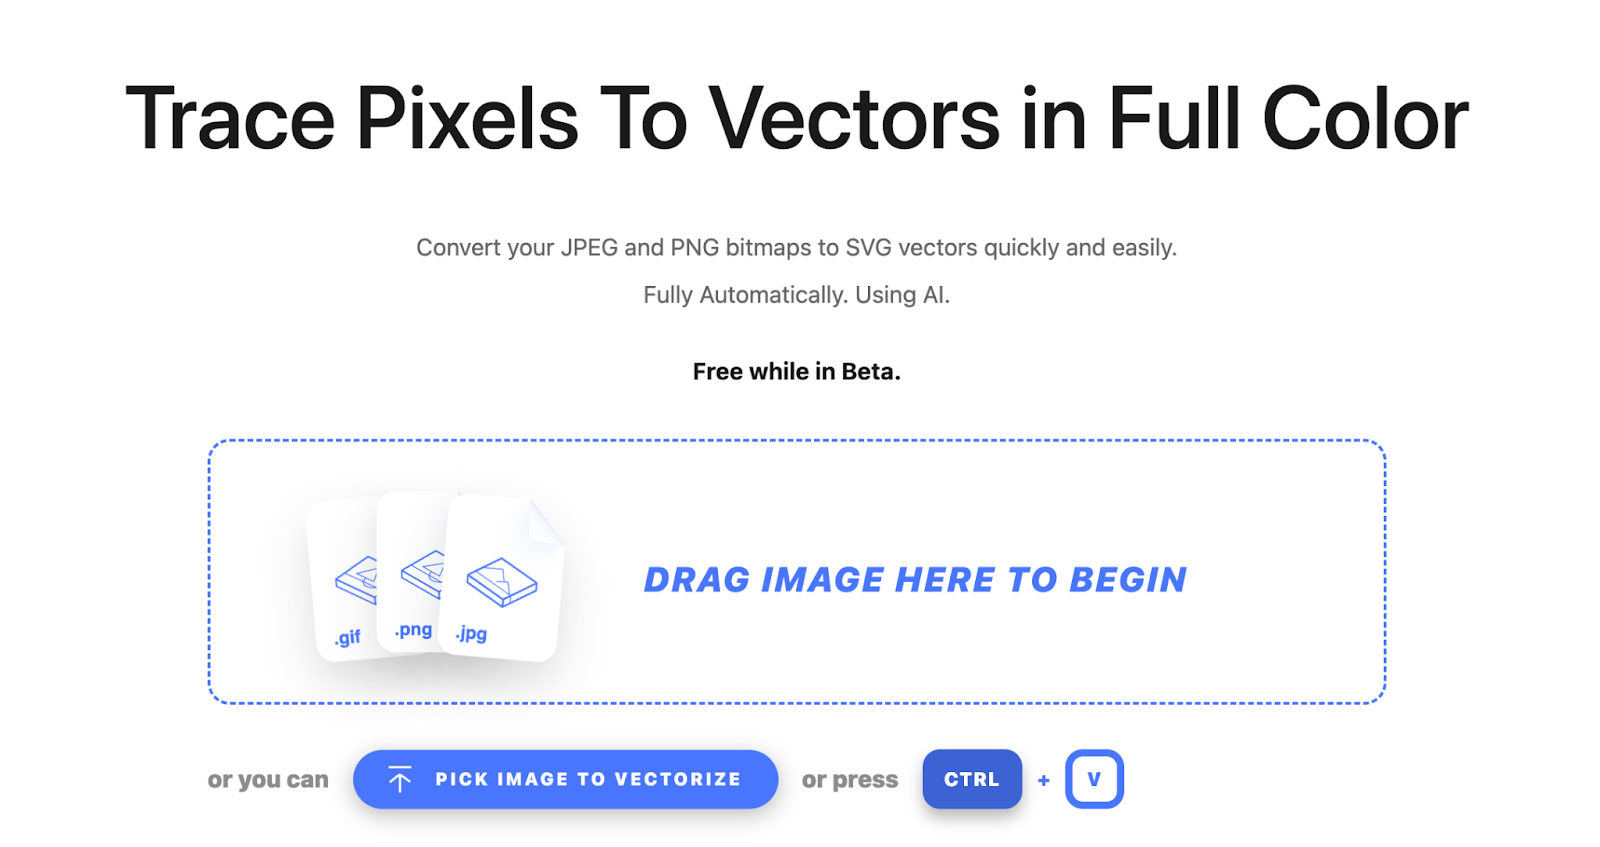
- Upload your image
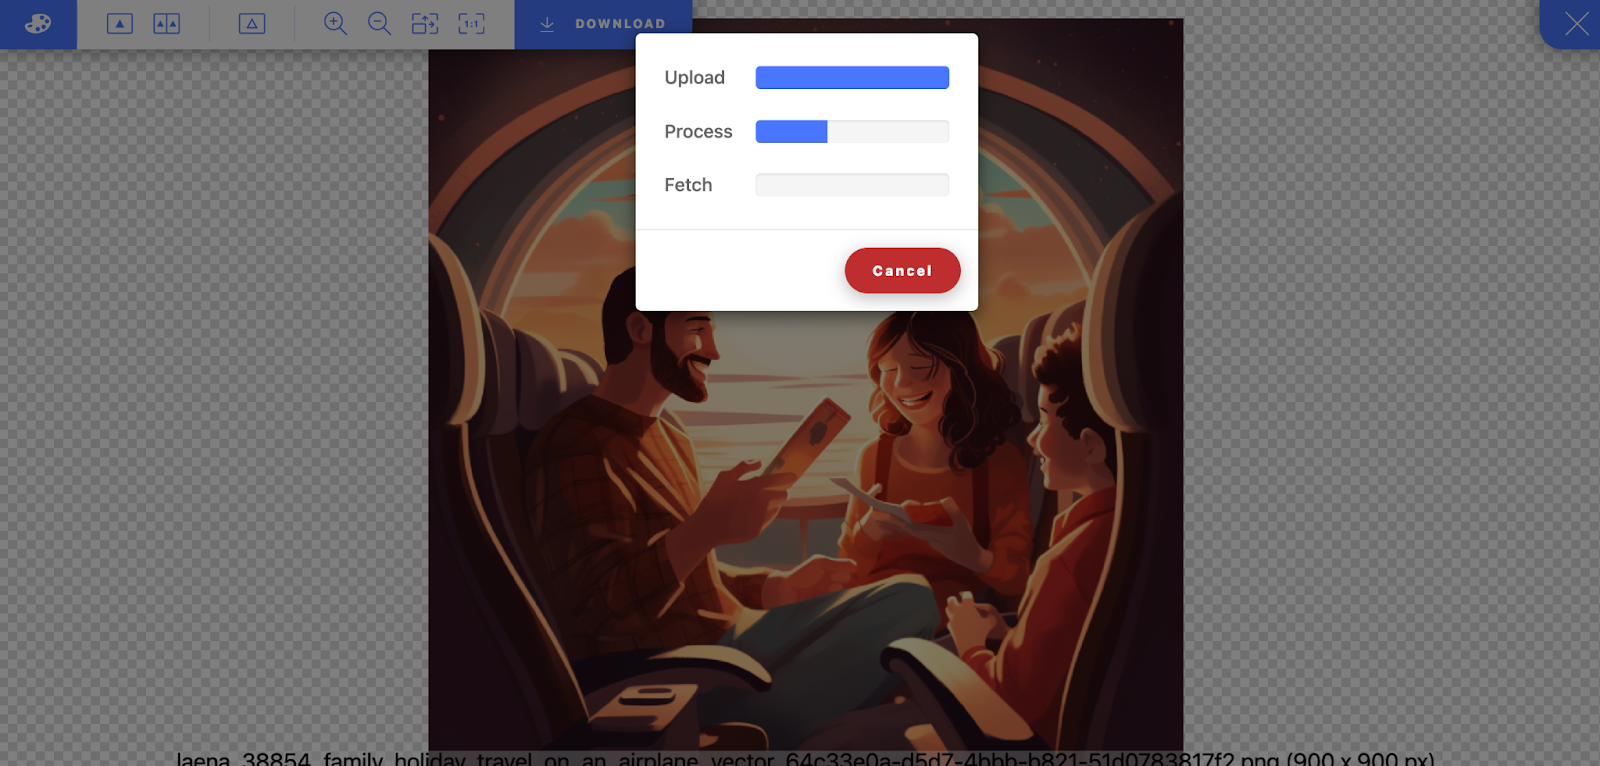
- Download the vectorized version
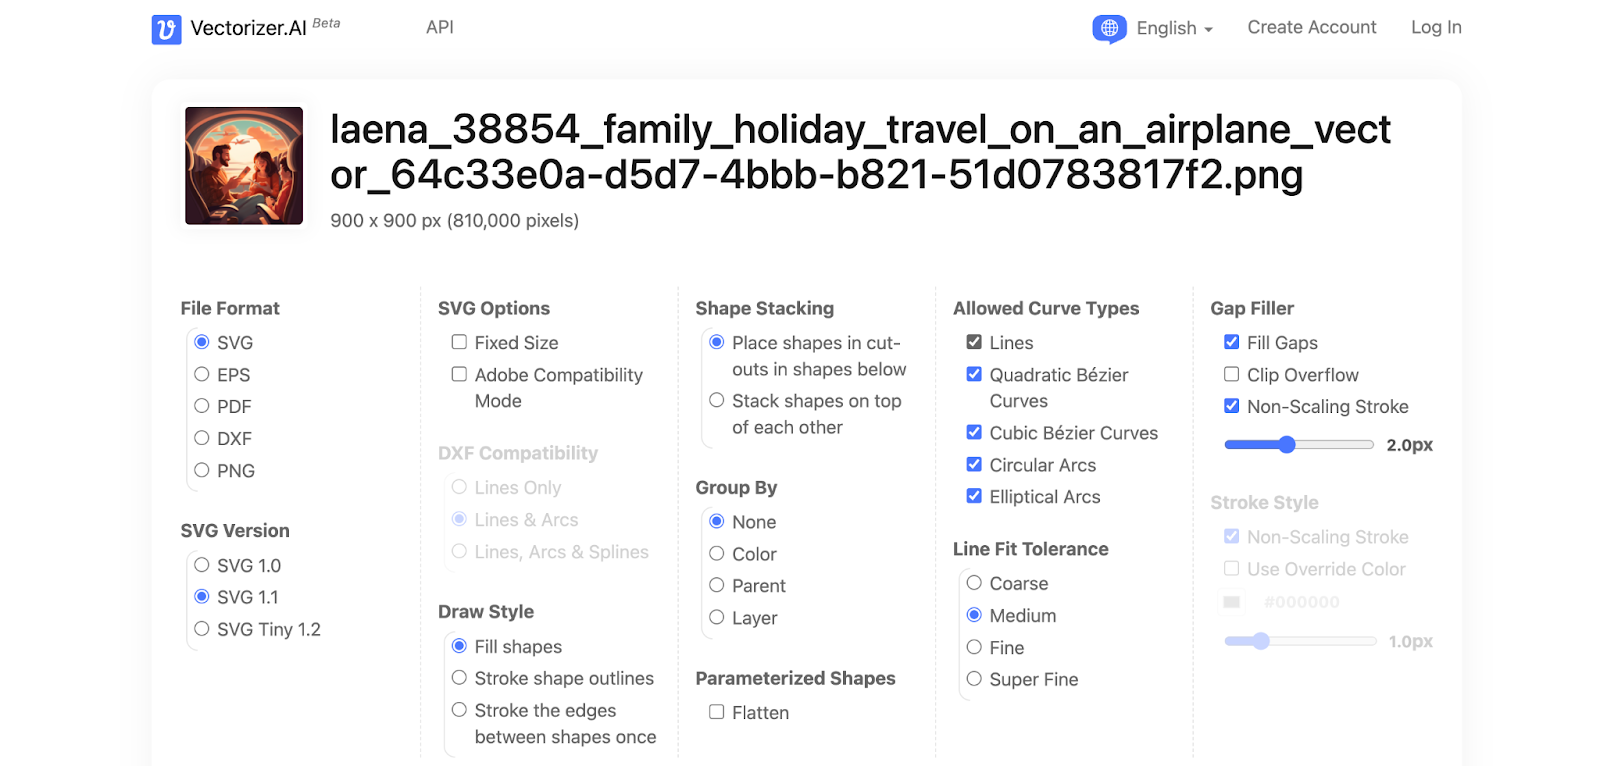
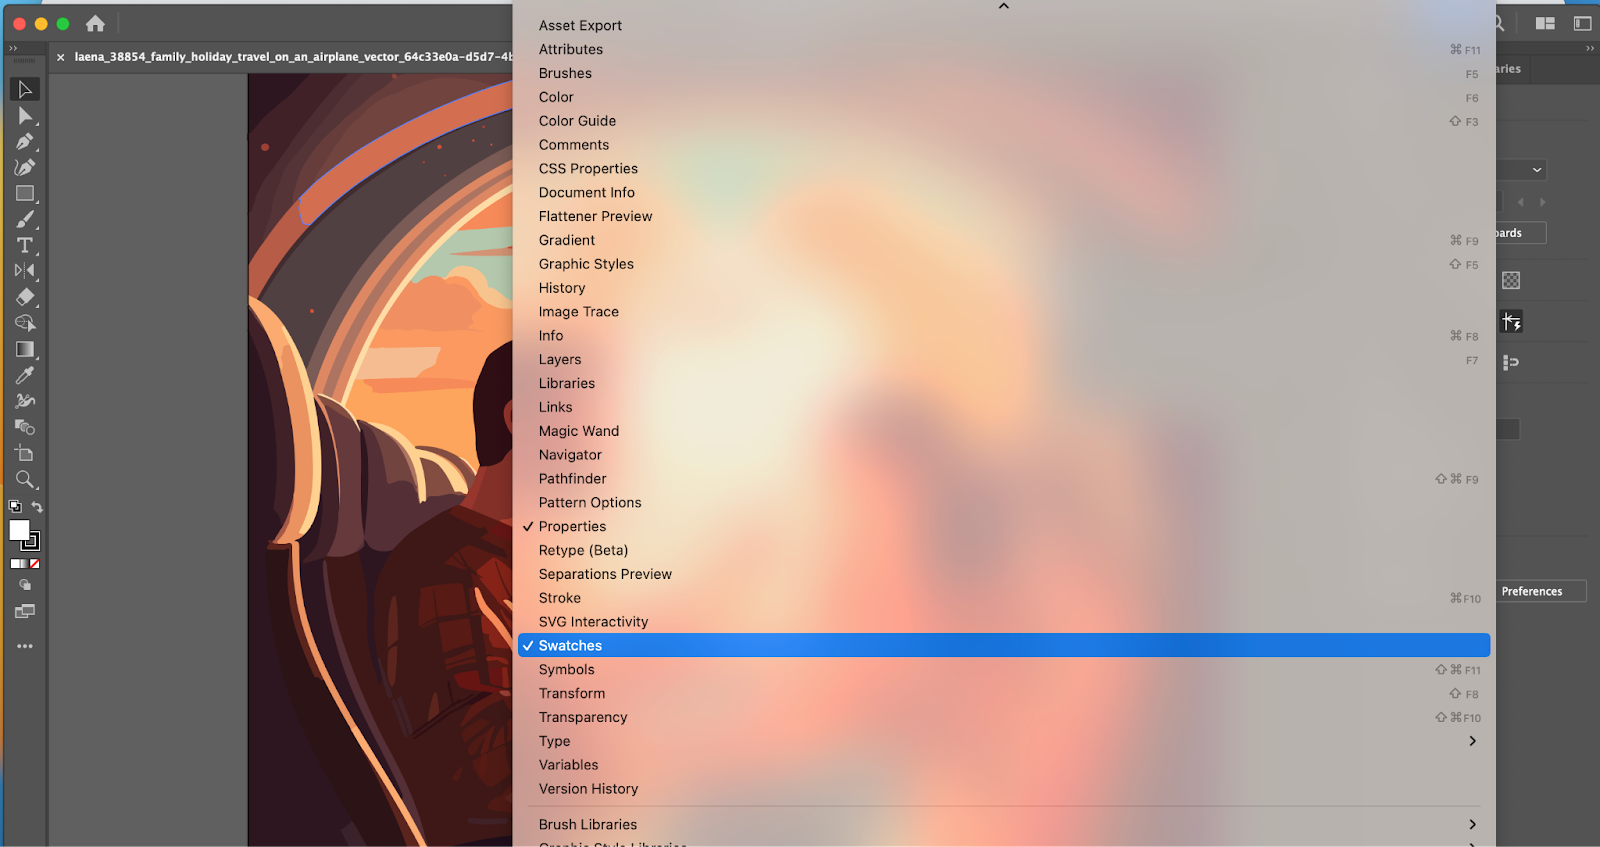
Step 11 - Adjust image
- Open it with Illustrator or equivalent

- Change colors to make it compliant with AIUG branding guidelines.
- Brand colors are: #E3E7AF #A2A77F #EFF1C5 #035E7B & #002E2C
Step 12 - Create the banner
- Open the file banner.ai or download it here.

- Drag your image in it
- Customize the baseline to make it appealing with your image

Step 13 - Export it and voila!
- After you’re satisfied with the final result, right click and export the file.
- You’re now ready to send your new creation to AIUG Airlines.
Conclusion & Next Steps
Here is a recap of what you can now achieve in your day to day work using Midjourney:
- You can use Midjourney to generate images using simple text prompts.
- You can quickly generate a diverse range of visual concepts based on different prompts, with the ability to iterate rapidly and efficiently.
- You can port the results into Illustrator or your preferred image editing tool, and adjust text, colors, and whatever else you need to do from there.
- Finally, you can create fantastic ad campaigns with these images in an remarkably fast amount of time.
If you want to go further here are the next steps you can follow to be more advanced:
- Once the image is uploaded, you can use the remove.bg tool to automatically edit it to remove its background.
- You can use design styles in your prompts to generate an image in that style; try “thirties,” “Warhol,” or “Classicism” to explore what this looks like
- Explore the Stylize prompt using the “–s” parameter to influence how strongly Midjourney’s style training is applied
- Read the UX Collective’s Guide to Midjourney or Midjourney’s own internal tutorials
- Participate in the fun themed group image generation in the Midjourney app in the #daily-theme channel
- Follow @Midjourney Community on Facebook or @midjourney_ai on X
Homework:
- Use what you just learned to design a new ad campaign for your company/ favorite client where you create 5 different ad variations following IAB guidelines; try using the same images to create Facebook ads and more!
- Hint: you can use chatGPT for copyrighting and more!
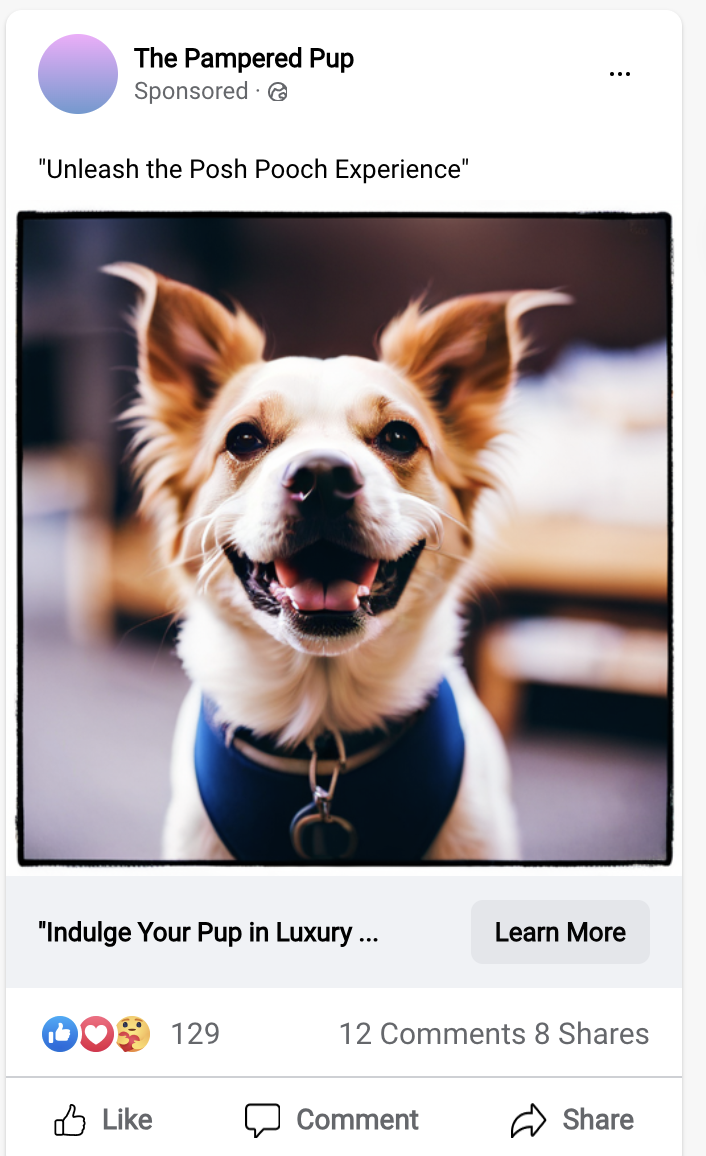
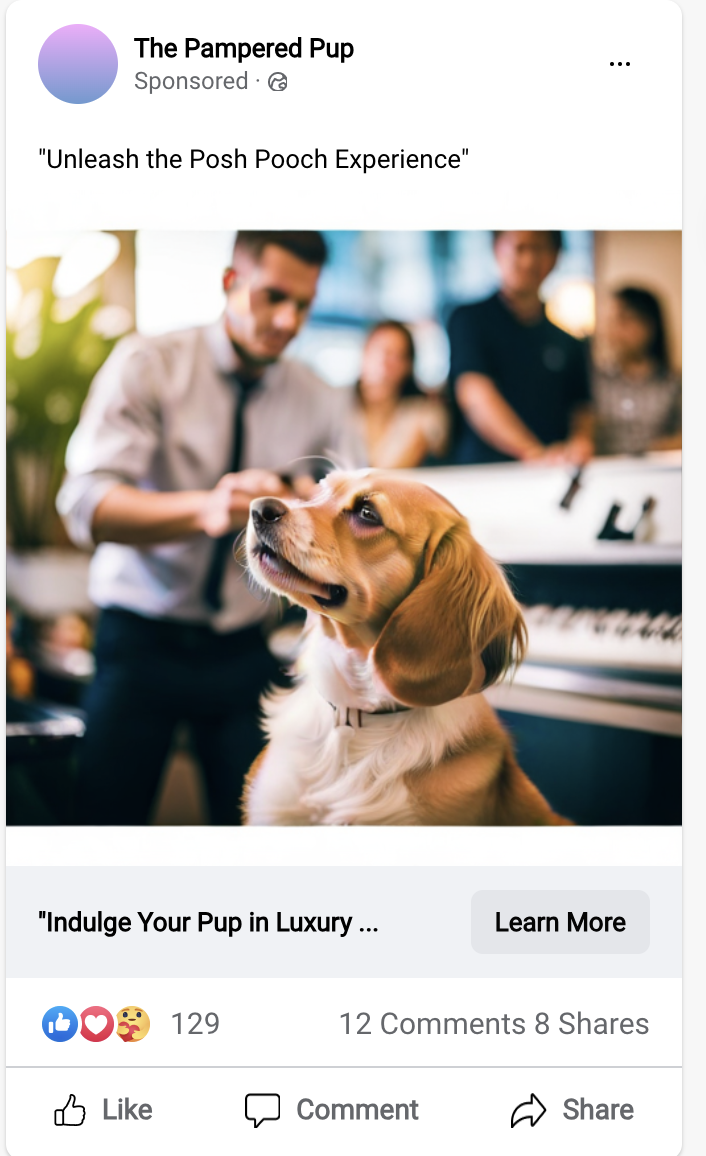
- Here’s an example of a Facebook ad I made super quickly for a luxury dog daycare using Midjourney and Admaker:

